Note! We recommend that the installation is done together with support, so we can make sure everything goes right and guide you through the process.
Advanced/experienced users can do the installation themselves following this guide. You can book a time:
1. Installation instructions
Note: Do not connect the cable until you have installed the driver.
1.1 Windows
Install the driver.
* NS-310/NS-351: Extract the driver ZIP package. Open from the extracted ZIP:
NS-310: install.bat
NS-351 cte351_lm_v3000
Follow the on-screen instructions to complete the installation.
Now you can connect the cables, wait for Windows to install the printer.
👉 See also Printing a receipt using Google Chrome
1.2 Mac / macOS
1.2.1 Capture
1. Download Mac CUPS Driver here
2. Run the DMG file
3. Run the PKG file
4. Connect the printer to the USB port and turn on the printer
5. From the printer manager, add AP3 and select Bixolon SRP-E300 as the driver to use
6. In the print preview, select the added printer and the paper size 72 x 3276
2. Opening the cash drawer
Since most payments nowadays are made by card, the cash drawer is usually not needed/wanted to open every time. In this case, the cash drawer does not need to be wired. The cash drawer opens semi-automatically by turning the key.
However, if you want the cash drawer to open every time a receipt is printed, connect the cable to the cash drawer connector on the receipt printer and check the setting:
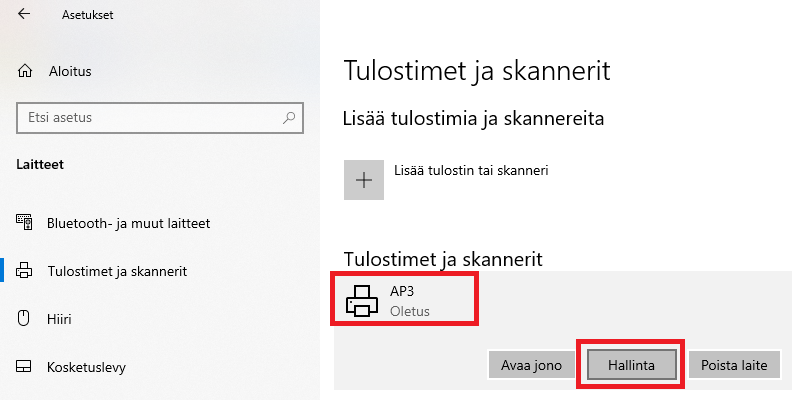
2.1. Capture (AP3)
Windows Printers -> AP3 -> Manage
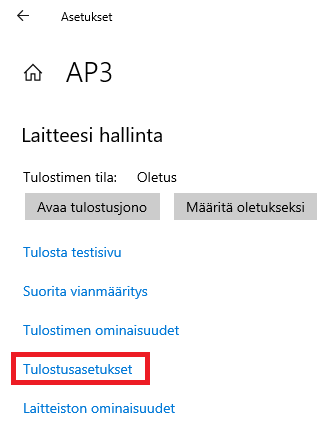
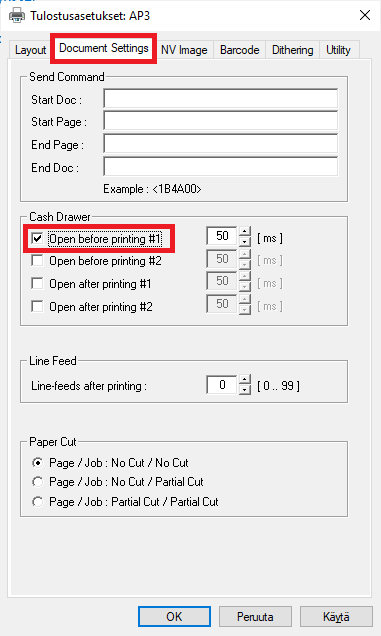
Print Settings -> Document Settings -> Cash Drawer
Document Settings -> Cash Drawer -> Open before printing #1
2.2. Citizen
The cash drawer is enabled by default. If necessary, the setting can be found in Printer properties -> Cash drawer.